
Thanks to the edu-sharing Integration for Moodle you can easily store objects in edu-sharing when working with the learning management system. Objects can be stored when creating resources for a course section or when embedding objects in WYSIWYG fields.
In addition, the edu-sharing workspace can be accessed using a special block of Moodle in Moodle.
on this page:
Accessing the Workspace in Moodle
Using the Workspace block for Moodle users can access the workspace in order to work with objects. The edu-sharing blocks must first be made available by an administrator.
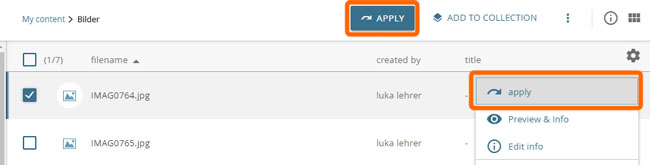
The workspace can be opened by clicking on the corresponding button in the edu-sharing workspace block.
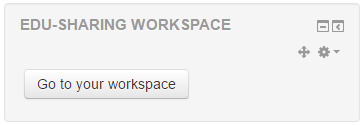
"workspace" button
Storing objects in the workspace is
described here
.
All of the objects that are stored in thatmanner can later be included as a resource or element of WYSIWYG fields in Moodle.
To exit the workplace, click on the corresponding button in the header area of the workspace.
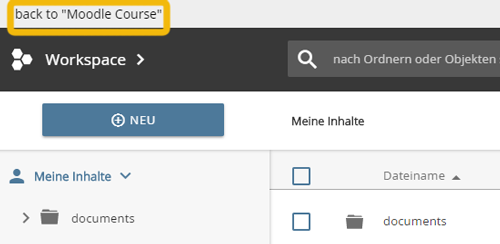
"back" button
Storing Objects while embedding them into WYSIWYG Fields
You may also upload / create new objects in edu-sharing while embedding them into WYSIWYG fields. Just like when working with the workspace you can store files or links to external objects.
In order to create an object and embed it in a WYSIWYG field, click on the edu-sharing button of the WYSIWYG editor.

edu-sharing button in the WYSIWYG-Editor
You will be forwarded to the repository search.
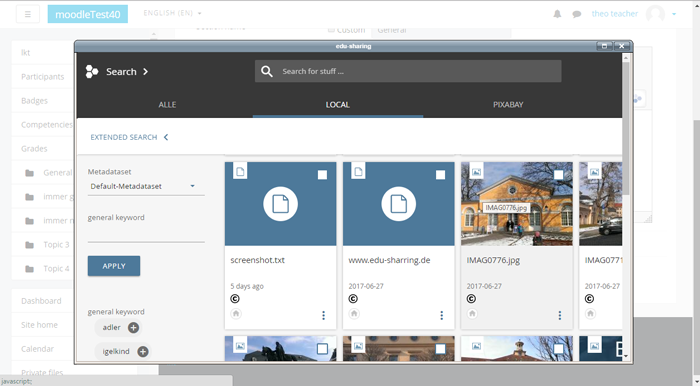
Switch to the workspace view.
opening the workspace view.
Upload / create the new object using the workspace and select it using the corresponding button above the content pane or in the context menu.
button for the selection of content from the workspace