Storing Objects using the Workspace and the se
Storing objects using the Workspace
Storing files using the Workspace
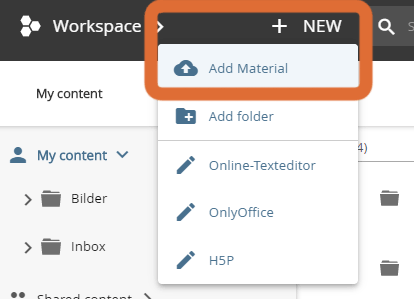
To create a new object in the repository, navigate to the folder that contains your object in the workspace. Click the "+ADD" button above the navigation area. Select the "Add Material" option.
"Add Material" button
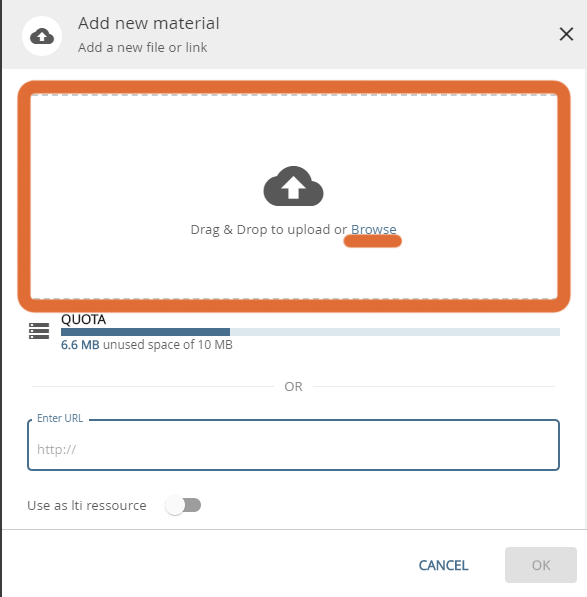
A new window opens.
Select the option "Browse".
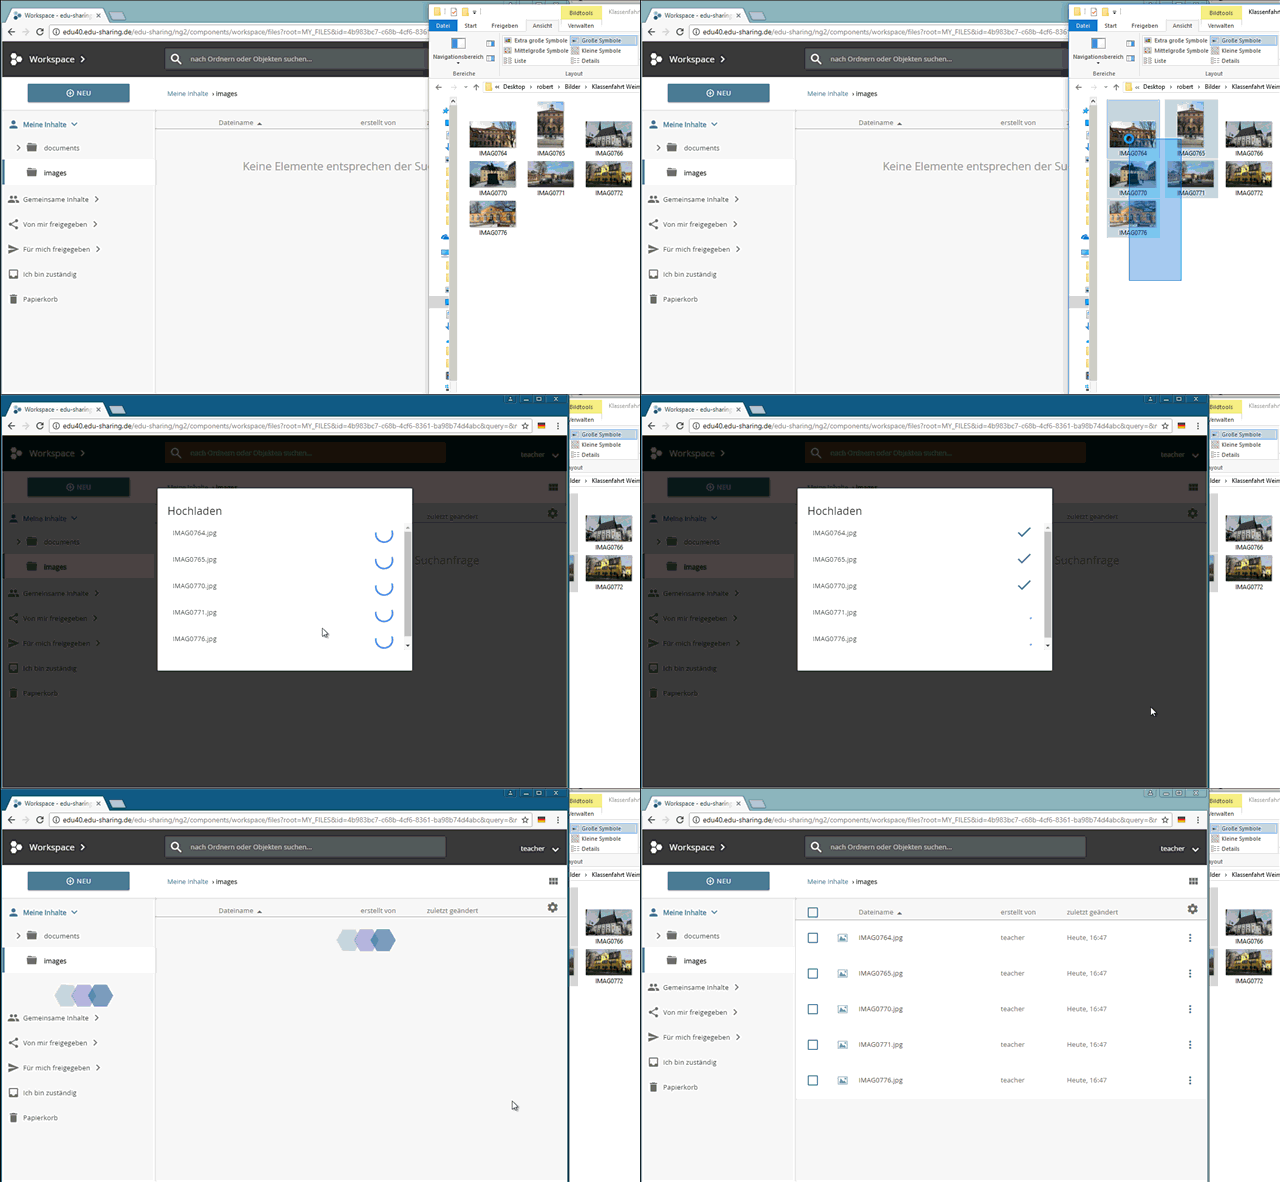
Your local file system will be opened in a new window. You may now select one or multiple documents. In order to select multiple objects hold down the Ctrl key (or Command key on an Apple computer), and successively click on the objects you want to upload. Now click the "Save" or "Open" button. A status bar indicates the progress of the upload process. The duration of the process depends on the size and the number of the selected files.
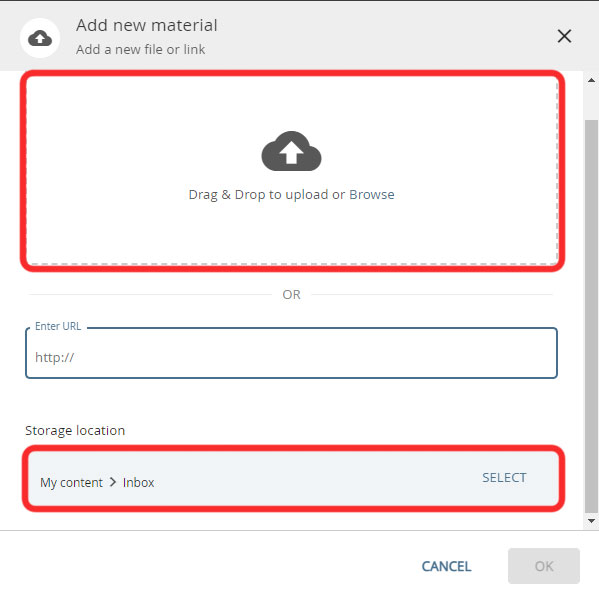
Alternatively, drag the objects to be uploaded from the Finder/Explorer of your computer into the marked area of the window.
You can also just drag&drop the files from your explorer/finder straight to the browser.
upload via drag&drop
While uploading files to the repository documents that allow full text indexing (Office, Open Office and PDF) will be indexed. This means that the repository "reads" the actual content of the files. This way you can take advantage of a full text search while retrieving files using the search.
You will be redirected to the meta data dialogue.
Storing links to external Resources using the Workspace (Weblinks)
To save a link to an external resource in the repository, click the "+ADD" button above the navigation area. Select the "Add Material" option.
"Add Material" button
A window opens. Enter the URL of the object in the corresponding field.
Click the "OK" button in the lower right corner of the window. You will be redirected to the meta data dialogue.
Accessing the Workspace in Moodle
Using the Workspace block for Moodle users can access the workspace in order to work with objects. The edu-sharing blocks must first be made available by an administrator.
The workspace can be opened by clicking on the corresponding button in the edu-sharing workspace block.
"workspace" button
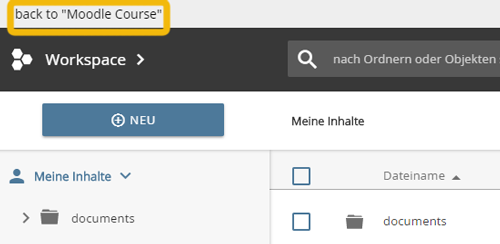
To exit the workplace, click on the corresponding button in the header area of the workspace.
"back" button
Storing objects using the search engine
Storing files using the search engine
To create a new object in the search, navigate click the "+New" button in the search header.
Select the "New material" option.

Button for creating new objects in the search
A new window opens, click on the button "Materials via Drag&Drop...". Your local file system will open in a new window.
Here you have the possibility to select one or more documents. To select multiple files, hold down the CTRL key (or the Apple/CMD key) and click on the desired documents one after the other. Click "Save" or "Open".
Alternatively, drag the items you want to upload from your computer's Finder/Explorer into the highlighted area of the window.
At the bottom of the window, you can select where to save the file. By default, the "Inbox" folder is selected. Click "CHANGE" to select a different location.
Saving web links in the search engine
In addition to files, edu-sharing also allows you to store references to objects that are outside the repository. You can think of these references as the bookmarks in your browser with some metadata added.
Examples of such external objects are simple web links from interesting content on the web or courses from connected learning environments.
To save external objects in the repository,
click the "+New" button in the search header.
Select the New Material option.
A new window opens, enter the URL of the object in the corresponding line
A new window opens, select the Link web page option and enter the URL (address) of the object.
In the lower part of the window you can select where to save the link. By default, the "Inbox" folder is selected. Click "SELECT" to select a different location.

