You decide who you share your documents, links, folders and collections with in edu-sharing. Our rights system supports you. Invite individuals or groups to read, edit or to include your content in learning management systems like Moodle.
on this page:
Assigning permissions for single folders and objects
Opening the "Manage Sharing" view
The assignment of rights for folders and objects is done in the edu-sharing workspace.
To assign permissions for individual folders or objects open the context menu for the corresponding object / folder. Select the "Share" option.
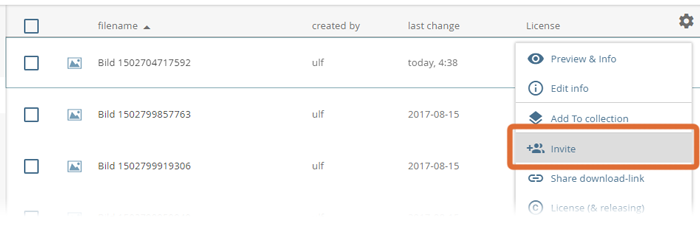
context menu
The "Manage Sharing" view will be opened.
Searching for users in order to assign access rights
To grant rights to users or groups of users to an object, it is necessary to find the corresponding users in the system. With the search you can find both users and groups of users.
Groups are created and maintained by the administrators of the system.
When you open the share view, the last users / groups for which you have made invitations are displayed automatically.
If the desired result is not displayed, start typing the name of the person or group you are looking for into the search field.
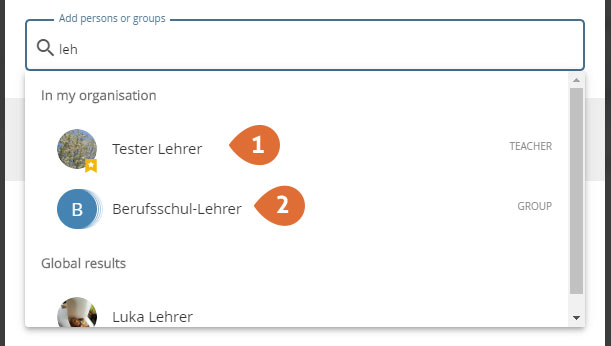
A suggestion system offers you suitable users and groups for the assignment of rights.
An icon in front of the suggestions shows whether it is a group or an individual user
-
"Tester Lehrer" is a single user, which I can assign rights to for an object / folder.
-
"Berufsschul- Lehrer" is a group which I can assign rights to for an object / folder.
Click one of the suggestions to select the user / group for an invitation. The selected users or groups appear under the search field.
Click the
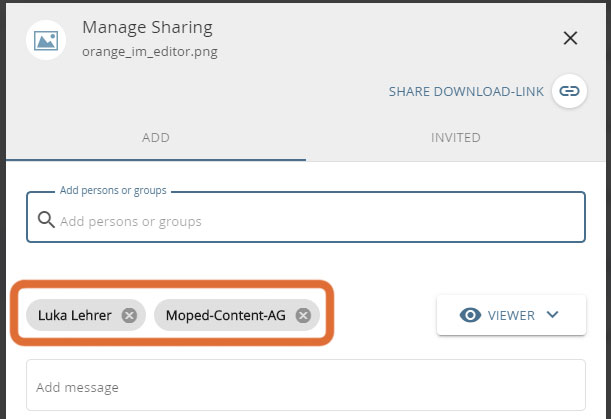
2 selected recipients for an invitation (one user and one group)
Assigning Access Rights
After selecting the recipients for the invitation we can use the access rights to determine what users can do with your content within the repository. The rights also define what the invitee can do with the contents in connected systems ( for example, an LMS like Moodle) .
Basically, the following access rights can be assigned:
-
viewer (The object can be found via the repository search engine and will appear in the "invited" node of the workspace. The user can view the object)
-
collaborator (In addition to the right of the viewer, the object can be edited by the licensee in the workplace and saved as a new version.)
-
coordinator (in addition to the rights of the collaborator the licensee can grant access rights to third parties)
-
publish (This right makes it possible to use the content in a connected system such as Moodle or to add it to collections. This permission can be combined with the rights "viewer" and "collaborator ". Coordinators will automatically receive the right to publish.) This right can only be assigned to objects, but not to folders and collections.
Assignment of "employee rights" with permission to integrate into systems such as Moodle to a user
After the invitation, users receive an automated e-mail informing them of the assignment of rights. Alternatively, you can write a personalized message to the respective person in the "Add message" section.
When assigning rights to groups, the notification is sent to the contact address stored for the group. In this case the mail will not be sent to all members of the group.
By un-checking the corresponding box you can de-activate the notification.
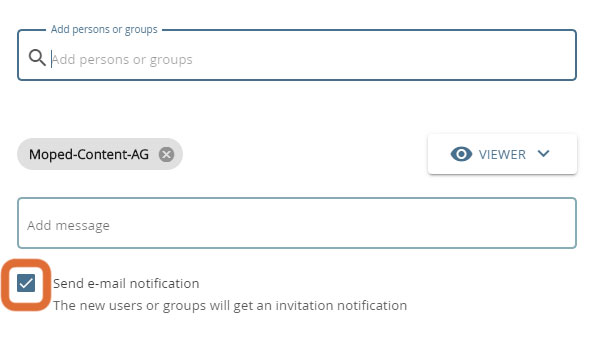
notification options
In order to check the assigned rights, switch to the "INVITED" tab of the view. All new permissions are surrounded by dashes.
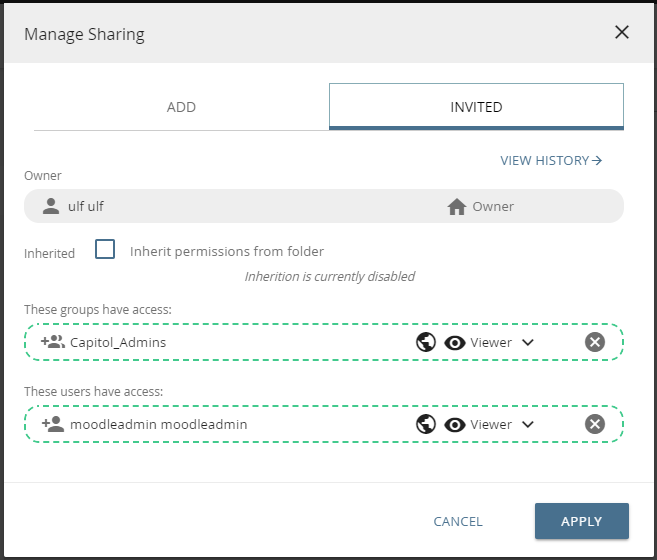
Click the "APPLY" button when you have finished entering the data.
Granting permissions for several folders or objects
Opening the "Manage Sharing" view
The assignment of rights for folders and objects is done in the edu-sharing workspace.
To assign permissions for multiple folders or objects, select the folders or objects by checking them.
Then click the "INVITE" button in the action area of the workspace.
Please note that group shares can only be made for multiple objects OR folders. Both types of content cannot be released simultaneously.
Assigning Access Rights
The assignment of permissions is mostly done in the same way as the assignment of rights for individual folders and objects.
-
The desired users and/or groups are searched for and selected.
-
The desired permissions are selected.
However, an additional area appears at the end of the form for assigning permissions during mass processing.
Here the user has two options:
-
Update existing permissions - The currently set permissions are added to the existing permissions of the selected users/groups.
In this case, the already existing authorizations are supplemented by the new, higher authorizations. Higher permissions are not affected. -
Overwrite existing permissions - The currently set permissions replace the existing permissions of the selected users/groups.
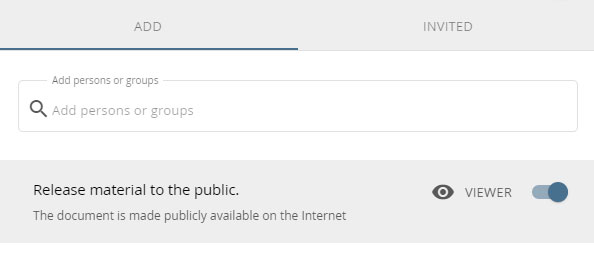
The "Release material to the public." shortcut
In order to quickly release a folder or an object to all users of the system, there is a corresponding functionality described in detail here.
Assigning access rights for collections
Permissions for private, public, and shared collections
The basic permission settings for collections are made when you create a collection by selecting the collection type:
-
Private collections and their contents are only visible to me.
-
Public collections and their contents are visible to all users of the system.
-
Collaborative collections are an exception: Here you can set exactly who gets which access rights to the collection when you invite them.
-
Editorial collections and their contents are also visible to all users. They are a special case when rights are granted - see below.
For all collection types except editorial collections, these fine granular permissions can be added afterwards by editing the collection.
This changes the collection type to a "shared collection".
When creating a Collaborative Collection or editing collections other than Editorial Collections, a window opens with a button to invite users.
The permission settings are usually the second step in the guided data entry process.
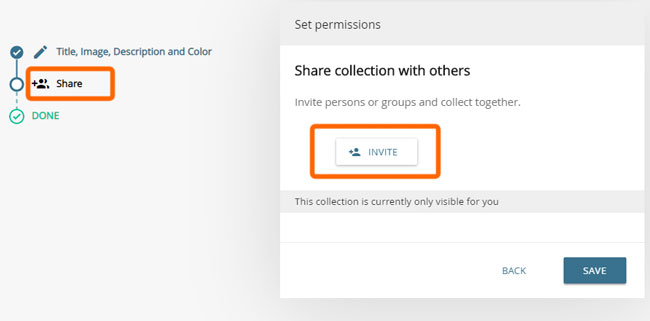
sharing dialogue of a collaborative collection
Click the "INVITE" button and the dialog for assigning rights opens.
Permissions are assigned as described in the section for Folders and Objects.
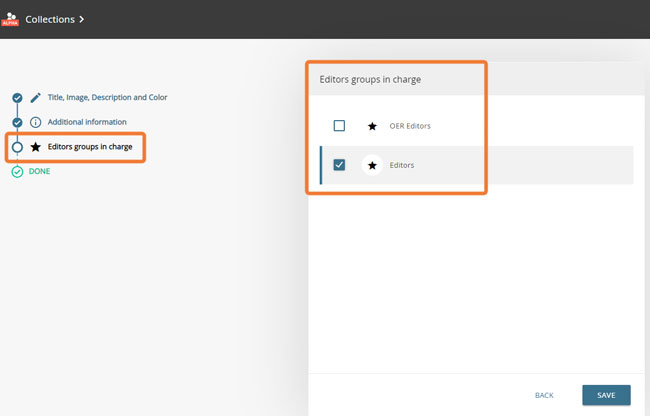
Permissions for Editorial Collections
Editorial collections and their contents are visible to all users. They are a special case when rights are granted.
The so-called editorial groups are responsible for the maintenance of editorial collections. These must be created by an administrator.
The members of the editorial groups have the administration rights for the respective collection and its contents. A collection can be managed by several editorial groups.
The selection of the responsible editorial groups is the last step in the creation of an editorial collection.