
As of version 1.6 content can be embedded in all WYSIWYG fields of the LMS. Audio and video files will be embedded with a corresponding player. Documents like PDFs Word or links to connected sources of content or tools will be embedded as a link.
on this page:
Embedding existing objects in WYSIWYG fields
In order to add an object from the repository to a WYSIWYG field, click on the edu-sharing button of the WYSIWYG editor.
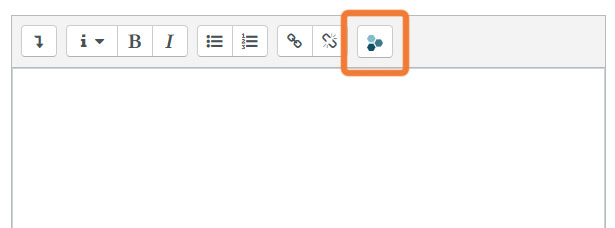
edu-sharing button in the WYSIWYG-Editor
A new window will open asking you to agree to open the search-engine in a new window.
Check the box for "Jump directly to repository next time" and click on "OPEN REPOSITORY".
The search engine opens.
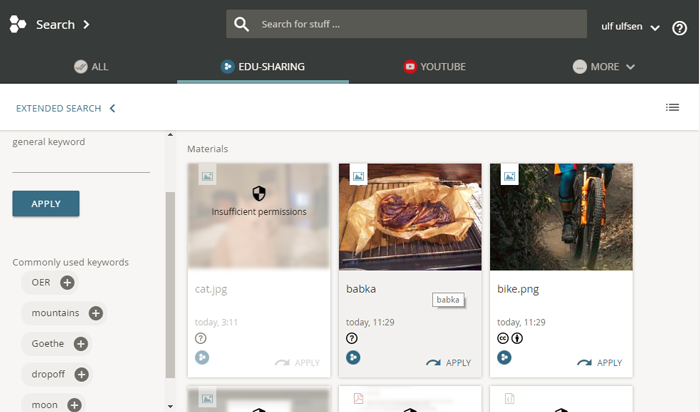
edu-sharing search engine
Use the edu-sharing search to find the desired object.
You can tell whether you are allowed to link an object in the course by the button for creating the link (a curved arrow). You will find this button below the thumbnails. If the arrow appears in an action color, you can link the object. If the arrow is grayed out, you do not have the corresponding rights.
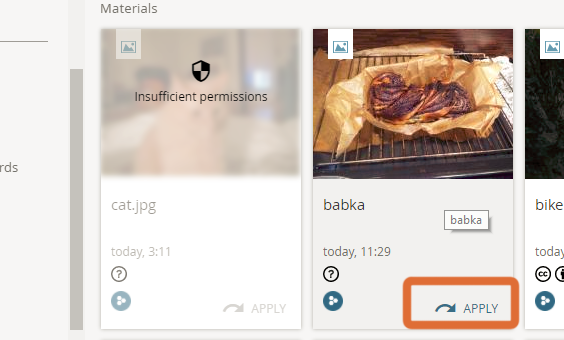
button for selecting objects from the search in order to use them in Moodle
Click the Apply button.
After selecting an object from the search or workspace, you will be returned to the Insert window of the WYSIWYG editor. Here you have the possibility to configure the layout of the object in the WYSIWYG field.
embedding options
-
Title: this description will be displayed below the object. When embedding documents such as PDF, this is the button label.
-
Version: Here you can decide whether you would like to always link the newest or the current version of the object to be embedded.
-
Caption: The caption will be displayed below the embedded object.
-
Float: Using this option you can select a floating option for your object.
-
Size: Select a size for your object. Selecting "Constrain Properties" makes sure that your object will not be distorted.
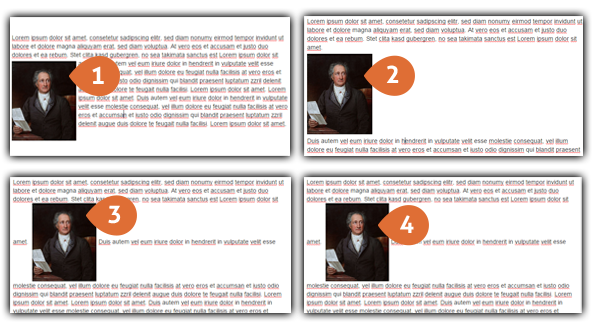
floating options
-
Left
-
None
-
Right
-
Inline
Click on the “insert” button to insert the selected object with the corresponding alignment option to the WYSIWYG field.
Uploading and embedding objects in WYSIWYG fields
Alternatively, when selecting objects for WYSIWYG fields, you can switch to the Workspace view to select existing objects or upload new ones. To do this, press the button to switch between the views.
switching views
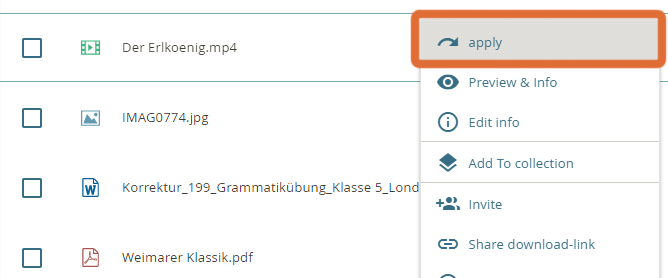
Now you can browse your workspace for the desired object or upload/create a new one and make it available in Moodle using the "Apply" option in the context menu.
You will be redirected to the insert-form of the WYSIWYG editor. Here you may select if you would like to embed the latest or the current version of the object. In addition you may change the size for graphic and video files and select an alignment option.
embedding options
-
Title: this description will be displayed below the object. When embedding documents such as PDF, this is the button label.
-
Version: Here you can decide whether you would like to always link the newest or the current version of the object to be embedded.
-
Caption: The caption will be displayed below the embedded object.
-
Float: Using this option you can select a floating option for your object.
-
Size: Select a size for your object. Selecting "Constrain Properties" makes sure that your object will not be distorted.
floating options
-
Left
-
None
-
Right
-
Inline
Click on the “insert” button to insert the selected object with the corresponding alignment option to the WYSIWYG field.
Changing the display settings for Objects in WYSIWYG Fields
To edit an embedded edu-sharing object, activate the WYSIWYG editor of the respective field. edu-sharing objects such as audio and video files are symbolized by a placeholder image in the activated editor. Graphics are displayed as thumbnails. Click the placeholder / thumbnail image with the left mouse button to select it. Then press the edu-sharing button of the WYSIWYG editor.
Make your changes.
Please note that the version options (always the latest version / mau this version) cannot change later. If you want to change this option, simply insert the object again.
Press the "SAVE" button to return to the WYSIWYG editor. After completing your changes, press the "Save Changes" button of the WYSIWYG editor. .
Deleting emebedded objects
To edit an embedded edu-sharing object, activate the WYSIWYG editor of the respective field. edu-sharing objects such as audio and video files are symbolized by a placeholder image in the activated editor.
Position the cursor behind the object by clicking / tapping on the appropriate location. Now press the Backspace key to delete the element.
Press the "Save changes" button of the WYSIWYG editor.